Posted in Tutorials | Beginners | Tutorials
No end to rounded corners
After the last tutorial on how to make fancy rounded tabs, I thought it might be interesting to take a look on how to make a widget which lets you transform a simple “div” into a nice looking one with rounded corners and flexible width/height, using just one image.
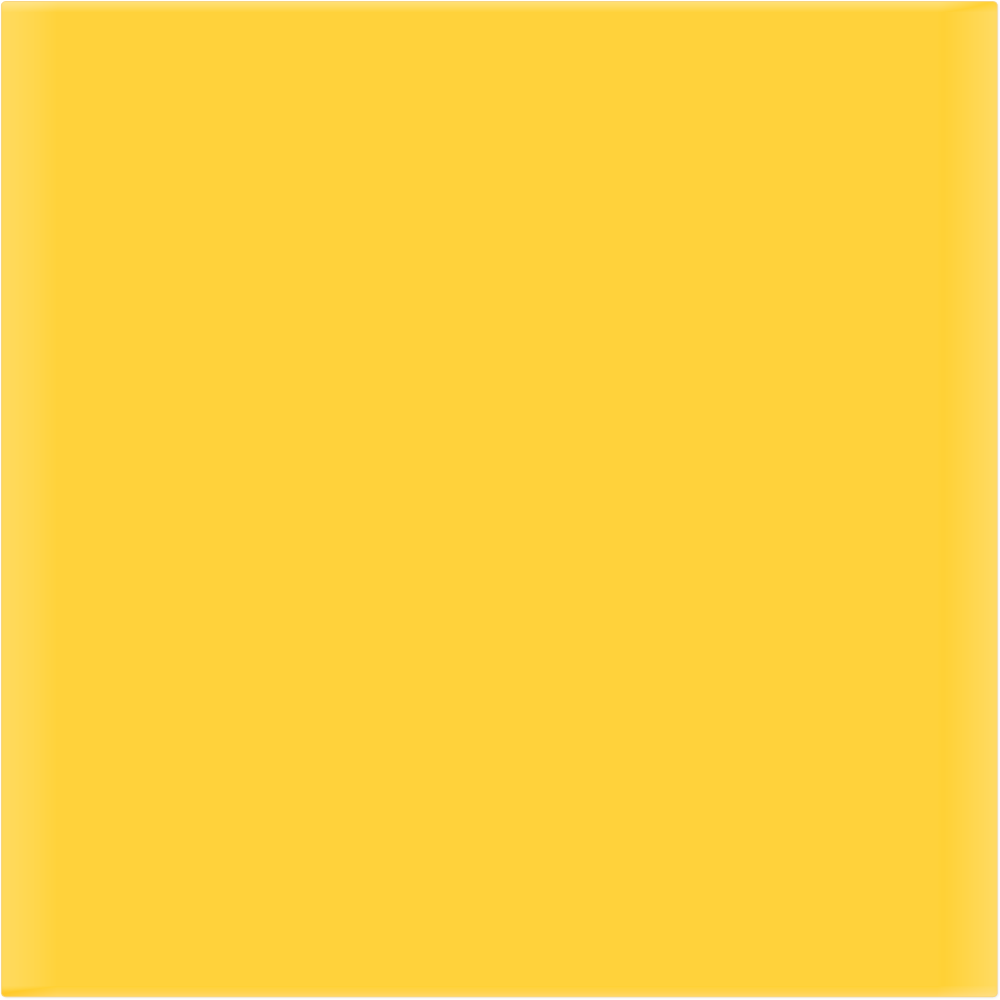
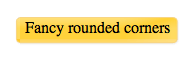
<div>Fancy rounded corners</div>
Will turn out to look like this:

Originally inspired by the great article of Scott Schiller, I took his approach on making rounded corners. I can only advice to read this article, it gives you some great insight into what cool things you can do with CSS.
The only drawback of the approach really is, that the width and height of the rounded corners element can only be as large as the image itself.
Thanks to dojo’s super simple widget creation we will write the code for this widget in just a few minutes.
As always lets define our goal - or a sample markup of how we would like the widget to work:
<div dojoType="Rounded" style="width: 200px; height: 200px" bgImg="img.png" bgImgAlt="img.gif">Hello</div>
The only noticable thing is the “bgImgAlt” attribute. We use this for the good old IE6 which doesn’t like PNG files.
Now lets create a folder/file structure for our widget:
Folders:
/rounded/
/rounded/resources
/rounded/templates
/rounded/tests
Files (just create empty files):
/rounded/Rounded.js
/rounded/resources/Rounded.css
/rounded/templates/Rounded.html
In this tutorial the /rounded folder resides in dojoc/sandbox/ which is a sibling of dijit, dojo and dojox.
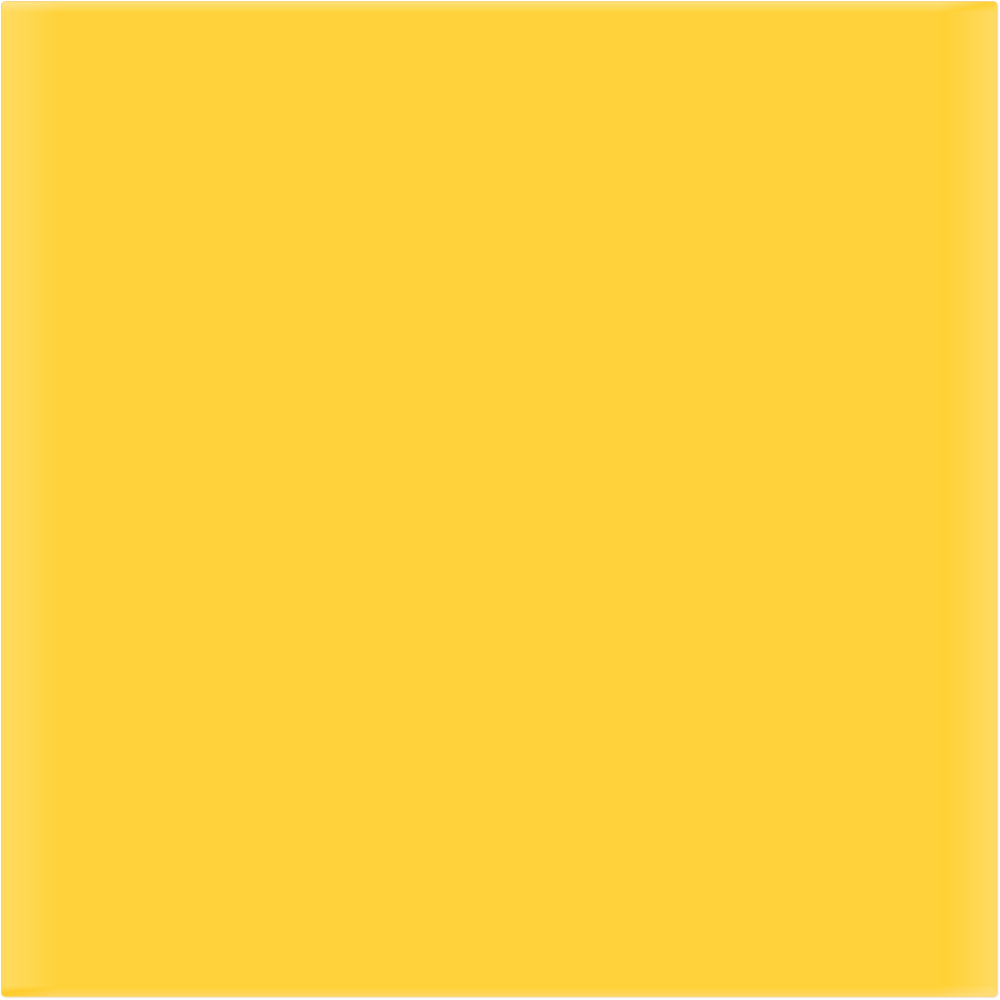
Besides that lets put those two images into the /rounded/resources folder (click on the thumbnails to get the full images):
As the first step we have to create an example of a non widget rounded corners div so we can translate the example code into a working widget.
The sample HTML and CSS code would look like this:
<div class="Rounded">
	<div class="RoundedContent">
	    <div class="RoundedTop"></div>
	    	<div>Hi friends
		</div>
	</div>
	<div class="RoundedBottom"><div></div></div>
</div>
and the CSS
.Rounded {
 	position:relative;
 	margin:0px auto;
 	min-width: 10px;
	max-width:1000px;
 	z-index:1;
 	margin-left:5px;
 	margin-top: 3px;
}

.Rounded .RoundedContent,
.Rounded .RoundedTop,
.Rounded .RoundedBottom,
.Rounded .RoundedBottom div {
 	background:transparent url('roundedbg.png') no-repeat top right;
 	_background:transparent url('roundedbg.gif') no-repeat top right;
}

.Rounded .RoundedContent {
 	position:relative;
 	zoom:1;
 	_overflow-y:hidden;
 	padding:5px 10px 2px 5px;
}

.Rounded .RoundedTop {
	position:absolute;
 	left:0px;
 	top:0px;
 	width:5px;
 	margin-left:-5px;
 	height:100%;
 	_height:1000px;
 	background-position:top left;
}

.Rounded .RoundedBottom,
.Rounded .RoundedBottom div {
 	height:7px;
 	font-size:1px;
}

.Rounded .RoundedBottom {
 	background-position:bottom right;
 	position:relative;
 	width:100%;
 	clear: both;
 	margin-left: 0px;
 	margin-right: 0px;
 	padding: 0;
	display: table;
}

.Rounded .RoundedBottom div {
 	position:relative;
 	width:5px;
 	margin-left:-5px;
 	background-position:bottom left;
}
That’s it. Let the widget creation begin, open the Rounded.js file and write following code:
dojo.provide("dojoc.sandbox.rounded.Rounded");

dojo.require("dijit._Widget");
dojo.require("dijit._Templated");

dojo.declare("dojoc.sandbox.rounded.Rounded",
	[dijit._Widget, dijit._Templated],
	{

	templatePath: dojo.moduleUrl("dojoc.sandbox.rounded","templates/Rounded.html"),

	bgImg: "",		// standard background image (png)
	bgImgAlt: "",	// background image for ie6
});
This is very simple stuff, we use dojo.provide to make this widget available to the dojo namespace, include two important helper classes dijit._Widget (provides widget functionality such as this.destroy()) and dijit._Templated (provides templating functionality) and then declare our rounded object.
We define the location of our template (which is still emty) and also define two variables which hold the image urls.
Writing tests
As a dojo widget developer you always should write tests for your widgets, so lets put a file called test_Rounded.html into the tests folder and put following code into that file:
<!DOCTYPE html PUBLIC "-//W3C//DTD HTML 4.01 Transitional//EN" "https://www.w3.org/TR/html4/loose.dtd">
<html>
<head>
	<meta http-equiv="Content-Type" content="text/html; charset=UTF-8">
	<title>Testing the Rounded</title>
	<style type="text/css">
		@import "../../../../dijit/tests/css/dijitTests.css";
		@import "../resources/Rounded.css";
	</style>

	<script type="text/javascript" src="../../../../dojo/dojo.js" djconfig="parseOnLoad:true, isDebug: true, defaultTestTheme:'soria'"></script>
	<script type="text/javascript" src="../../../../dijit/tests/_testCommon.js"></script>

	<script type="text/javascript" src="../Rounded.js"></script>
	<script type="text/javascript">
		dojo.require("dojo.parser");
	</script>
</head>
<body>
<h1 class="testTitle">dojoc.sandbox.rounded.Rounded</h1>

<div dojoType="dojoc.sandbox.rounded.Rounded" style="width: 160px; height: 150px;" bgImg="../resources/RoundedBg.png" bgImgAlt="../resources/RoundedBg.gif">Fancy rounded corners</div>
</body>
</html>
This is just a simple HTML file, the most important stuff is the fact that we include the dojo.js, our Rounded.js and the CSS for our rounded divs Rounded.css. The rest are additional includes for tests which are not really important in our case but should be there in case you would want to contribute your code.
Within the body tags you see a div using dojoType=”dojoc.sandbox.rounded.Rounded”. This is how we want it to look like.
Now copy the HTML from our test example and put it into /templates/Rounded.html and copy our test CSS and put it into /resourses/Rounded.css. Make sure the image in the css points to an existing one.
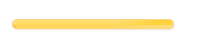
Fire up your browser and open /tests/test_Rounded.html. If everything went to plan you should see something like:
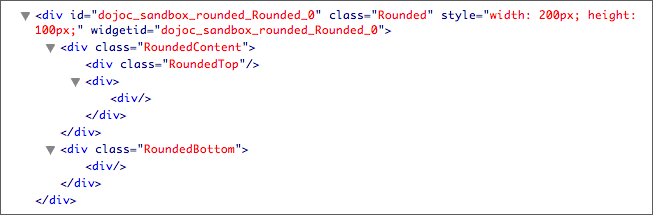
Weird. If you use Firefox and have Firebug installed you can even look at the markup, the widget produces:
Why don’t we see the content we had in between the div?
We can use an attribute in our template called “dojoAttachPoint” with the value “containerNode” to say where we want our content to be put.
While we are busy putting a dojoAttachPoint into our template we can add a few more of them. Why? Because when you look at our css, you see that lot of nodes are using the same background image. In our final version we want to be able to define our own background image so we need to change each of those nodes background image when the widget gets created.
To access those nodes, we define dojoAttachPoints. Here is our final template (so edit your /templates/Rounded.hmtl):
<div class="Rounded" dojoAttachPoint="outerNode">
	<div class="RoundedContent" dojoAttachPoint="roundedContent">
	    <div class="RoundedTop" dojoAttachPoint="roundedTop"></div>
	    	<div dojoAttachPoint="contentNode">
				<div dojoAttachPoint="containerNode"></div>
			</div>
		</div>
	<div class="RoundedBottom" dojoAttachPoint="roundedBottom"><div dojoAttachPoint="roundedBottomDiv"></div></div>
</div>
Reload your teat page and again - if everything went to plan - you should see this:
This is already way better isn’t it? The most noticable dojoAttachPoint at this point is containerNode. All content within the original div will just be put in there. Nice.
Lets go back to the beginning and remember that we wanted to be able to set the background image by passing a “bgImg” attribute to the widget.
dijit._Widget provides a postCreate method you can use, when you need access to the passed attributes. Let’s add this method to our Rounded.js
	postCreate: function() {
		var alt = (this.bgImgAlt.length && dojo.isIE < 7);
		dojo.forEach(["roundedContent","roundedTop","roundedBottom","roundedBottomDiv"],
			function(elName){
				dojo.style(this[elName],"backgroundImage", "url(" + (alt ? this.bgImgAlt : this.bgImg)  + ")");
			},
		this);
	}
Lets walk through each step:
var alt = (this.bgImgAlt.length && dojo.isIE < 7);
This stores either true or false in the variable “alt”. It wil be true is we passed the bgImgAlt attribute AND if our browser is IE6 (so we will use the gif image rather than the png).
dojo.forEach(["roundedContent","roundedTop","roundedBottom","roundedBottomDiv"],
			function(elName){
				dojo.style(this[elName],"backgroundImage", "url(" + (alt ? this.bgImgAlt : this.bgImg)  + ")");
			},
		this);
We use dojo.forEach to iterate over the four string keys “roundedContent”, “roundedTop”, “roundedBottom” and “roundedBottomDiv”, which represent the dojoAttachPoints we want to change to adjust the background image.
Maybe the following line is a bit confusing:
dojo.style(this[elName],"backgroundImage", "url(" + (alt ? this.bgImgAlt : this.bgImg) + ")");
first of all it helps to simplify the dojo.style to
dojo.style(element, "backgroundImage", image);
So it sais: set the backgroundImage (background-image in CSS) for the element “element” to the variable image.
Now in our real code instead if element we have this[elName] which refers to the current dojoAttachPoint (which points to the refering node in the template) of the forEach loop. So for example in one iteration of the dojo.forEach loop, the value of the variable elName is “roundedContent”.
this[elName] will therefore act as this.roundedContent, which points to the dom node with the dojoAttachPoint “roundedContent”.
Now the last bit:
"url(" + (alt ? this.bgImgAlt : this.bgImg) + ")"
simplified would be almost the same as
"url(" + image + ")"
because we want a string like this: url(”/images/image.gif”).
Remember that we stored the value whether we use IE6 and have defined the bgImgAlt in the alt variable?
The code:
(alt ? this.bgImgAlt : this.bgImg)
Translates to: If “alt” is true (meaning we use IE6 and have defined the bgImgAlt) we use this.bgImgAlt, otherwise we use this.bgImg, this code snipped is called a ternary operation.
So in every dojo.forEach loop, our widget sets the correct background image for each dom node.
After this is working we need to modify our resources/Rounded.css because it still says there, that we should always use the same image.
Luckily it is simple and we just have to take out the url(”image”) stuff.
.Rounded .RoundedContent,
.Rounded .RoundedTop,
.Rounded .RoundedBottom,
.Rounded .RoundedBottom div {
 	background:transparent url("RoundedBg.png") no-repeat top right;
}
should become
.Rounded .RoundedContent,
.Rounded .RoundedTop,
.Rounded .RoundedBottom,
.Rounded .RoundedBottom div {
 	background:transparent no-repeat top right;
}
Now if you run your testfile everything should be working fine, except that the height is not set. This is happening because the inner div (the dojoAttachPoint=”contentNode”) doesn’t yet know about the height. Divs only strech to fit the width but not the height.
To adjust the height of the “contentNode” we just add following lines of code to postCreate method of the /Rounded.js file:
dojo.style(this.contentNode, "height", dojo.style(this.outerNode, "height")-10+'px'); // TODO: Calculate correct height
Our complete Rounded.js should now look like this:
dojo.provide("dojoc.sandbox.rounded.Rounded");

dojo.require("dijit._Widget");
dojo.require("dijit._Templated");

dojo.declare("dojoc.sandbox.rounded.Rounded",
	[dijit._Widget, dijit._Templated],
	{

	templatePath: dojo.moduleUrl("dojoc.sandbox.rounded","templates/Rounded.html"),

	bgImg: "",		// standard background image (png)
	bgImgAlt: "",	// background image for ie6

	postCreate: function() {
		dojo.style(this.contentNode, "height", dojo.style(this.outerNode, "height")-10+'px'); // TODO: Calculate correct height

		var alt = (this.bgImgAlt.length && dojo.isIE < 7);
		dojo.forEach(["roundedContent","roundedTop","roundedBottom","roundedBottomDiv"],
			function(elName){
				dojo.style(this[elName],"backgroundImage", "url(" + (alt ? this.bgImgAlt : this.bgImg)  + ")");
			},
		this);
	}
});
Reload your test file and you’ll get this:
That is all there is.
Note: the widget is not yet fully optimized because it is not 100% ready for any kind of border radius. If the radius is something like 20px the CSS has to be adjusted (margin and padding values). I leave that as an exercise to you.
Here are two more images I used on the campus frontpage to create nicer rounded backgrounds:


Tags: dojo.declare, Theming, Widgets